
What Must a Professional 5.1 Template Accomplish?
How do you build a Pro Tools 5.1 template that stays organized, meters correctly, and produces dependable stems and full-mix prints?
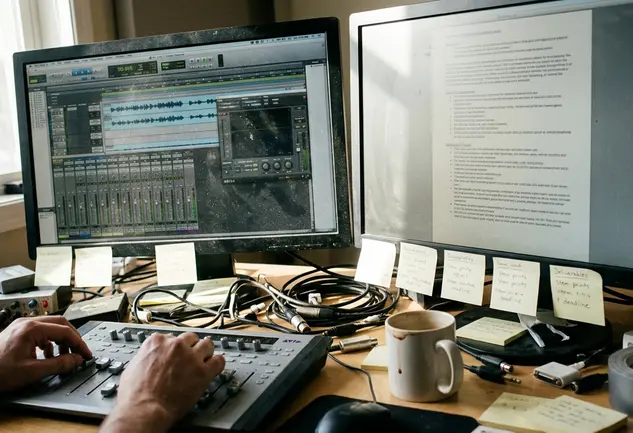
Begin with the delivery list rather than the track list. A session can pass audio and sound plausible while hiding a swapped channel, doubled monitor return, incorrect print width, or processor placed on the wrong side of the record path. Those errors rarely announce themselves during a busy mix.
The reusable target here is a channel-based 5.1 post session containing dialogue, effects, and music stems plus a full-mix print. It covers source routing, stem control, monitoring, metering, recording, and verification for L, C, R, Ls, Rs, and LFE.
Bottom Line: A useful template does more than open with familiar tracks. It preserves channel identity, keeps stems independently controllable, and records files that can be checked without reconstructing the mix.
This design does not cover object-based immersive mixing, theatrical room certification, or a universal loudness target. Those requirements come from the current delivery specification. Reserve a 20–30 minute validation pass before saving the template so channel identification, stem isolation, print recording, and file playback receive deliberate attention.
Map the Signal Flow Before Creating Tracks
Draft the routing hierarchy on one page first. The order should read: source tracks, optional editorial subgroups, 5.1 stem auxiliaries, a full-mix auxiliary, print buses, print tracks, Master Faders, and the monitoring output.
Keep the audio path explicit
- Mono and stereo source tracks feed the appropriate editorial or stem bus.
- Editorial subdivisions such as ADR, Foley, backgrounds, and hard effects feed their main family stem.
- DX, FX, and MX stem auxiliaries feed FULL MIX BUS 5.1.
- FULL MIX AUX 5.1 receives that bus and feeds MON 5.1.
- Post-fader sends feed the required stem and full-mix print paths.
- Record tracks capture those print paths without joining the live monitor feed.
Stems must remain independently adjustable because a dialogue correction should not disturb music or effects. At the same time, each stem has to reach the full mix through a clear, inspectable route.
Separate routing from control
Auxiliary inputs carry, sum, and process audio. VCA Masters do none of those jobs. They control the faders of assigned group members while remaining outside the audio path.
Keep a short bus dictionary near the session plan: DX BUS 5.1, FX BUS 5.1, MX BUS 5.1, FULL MIX BUS 5.1, their corresponding PRINT paths, and MON 5.1. This prevents small naming differences from turning into routing mistakes later.
Set the 5.1 Format, Channel Order, and I/O Paths
A session can sound plausible even when L and C are exchanged at the interface. Both loudspeakers still reproduce active front-channel material, so ordinary playback may not expose the fault.
I/O Setup must therefore function as a wiring document, not a naming exercise. Confirm that the session, interface, monitor chain, and delivery destination use the intended order for L, C, R, Ls, Rs, and LFE. Never infer physical hardware order from labels alone.
Build paths that support testing
- Create or verify one 5.1 monitor output named MON 5.1.
- Add discrete mono subpaths for L, C, R, Ls, Rs, and LFE.
- Retain any required stereo subpath for two-channel sources and monitoring checks.
- Inspect the physical output assignment behind every channel label.
The center subpath provides a clean route for a discrete dialogue test. Stereo subpaths make music checks straightforward, while mono subpaths allow one-speaker-at-a-time verification.
Important: Importing or rebuilding I/O Setup can change assumptions carried over from another room. Recheck the installed-version behavior in the Avid Pro Tools documentation, then identify each connected loudspeaker independently.
Build the Stem Buses, Auxiliaries, and Print Paths
One deceptively clean print layout can create doubled monitoring: record-enabled print tracks return to MON 5.1 while the live auxiliaries already feed that same output. Source routing looks correct, yet playback becomes louder and level judgments stop being trustworthy.
Avoid that condition by assigning active print tracks to No Output or to a muted QC path during recording. Audition the recorded files later through a known playback route.
Create the main stem structure
- DX AUX 5.1 receives DX BUS 5.1.
- FX AUX 5.1 receives FX BUS 5.1.
- MX AUX 5.1 receives MX BUS 5.1.
- All three stem auxiliaries output to FULL MIX BUS 5.1.
- FULL MIX AUX 5.1 receives FULL MIX BUS 5.1 and outputs to MON 5.1.
Production dialogue and ADR can share the DX stem. Foley, backgrounds, and hard effects can remain editorially separate while converging on the FX stem. Music feeds MX. These subdivisions improve navigation without forcing unnecessary final deliverables.
Preserve native source widths
A mono dialogue track stays mono. A stereo music track stays stereo. Each uses the surround panner to place its signal within the 5.1 stem instead of being converted into six separate source tracks.
When all principal deliverables are required, create DX PRINT 5.1, FX PRINT 5.1, MX PRINT 5.1, and FULL MIX PRINT 5.1. A 30–60 second record test provides enough room for channel IDs, an automation move, and a clean stop boundary.
Use VCA Groups and Track Layouts Without Changing Routing
What should move when the dialogue family needs a trim? The answer depends on whether the adjustment belongs to the source family, the processed stem, or both.
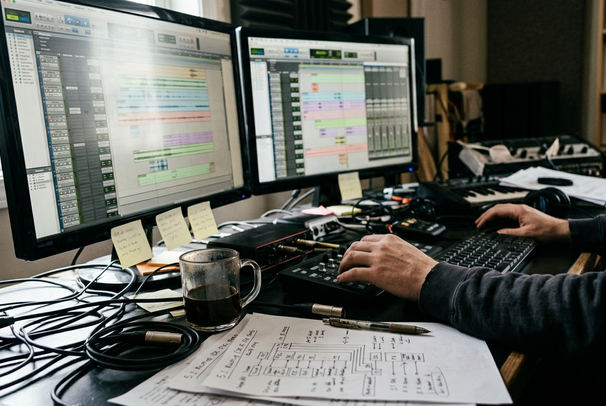
Create groups and matching DX, FX, and MX VCA Masters around editorial responsibility. Production dialogue and ADR can belong to DX; Foley, backgrounds, and hard effects to FX; music tracks to MX. A VCA Master then adjusts the member faders without adding another summing or processing stage.
A VCA Master does not receive, sum, or process audio. It is not a substitute for DX AUX 5.1, FX AUX 5.1, or MX AUX 5.1.
Watch automation and group membership
VCA movement combines with the automation already written on member tracks. That makes broad trims fast, but group membership needs close inspection. Including both source tracks and their stem auxiliary in the same VCA-controlled group can apply the intended trim twice even though the bus routing itself has not changed.
Arrange the session from source tracks to stem auxiliaries, FULL MIX AUX 5.1, print tracks, Master Faders, and finally the VCA Masters. Use separator tracks or folders between Production Dialogue, ADR, Foley, Backgrounds, Hard Effects, and Music.
Field Note: Put bus assignments and unusual panner behavior in track comments. Color helps with scanning, but it cannot explain why a particular ambience is intentionally weighted toward Ls and Rs.
Place Master Faders, Meters, and Plugins Deliberately
Plugin location defines what enters a stem, what affects the combined mix, and what can accidentally reach a deliverable.
Process at the narrowest correct level
- Place stem-specific correction on the corresponding DX, FX, or MX auxiliary.
- Place processing intended for every stem on FULL MIX AUX 5.1.
- Use Master Faders to inspect and control critical output or print paths.
- Keep speaker calibration, room correction, and monitor-only delay processing on the monitoring side.
A conservative stem chain starts with trim or gain control, followed by corrective equalization or dynamics only when required, then a meter that explicitly supports a 5.1 path. The meter must expose all six channels rather than collapsing the display into a generic level indication.
Create Master Faders for MON 5.1 and each active print bus. These tracks make path-level overloads and level changes visible at the destination rather than only on the feeding auxiliaries.
Important: Master Fader inserts are post-fader in Pro Tools. A limiter or meter placed there behaves differently from the same plugin inserted on an auxiliary, particularly when the Master Fader moves. Choose the location from the intended gain relationship, not from empty insert space.
Test Every Channel Before Saving the Template
Send an identifiable signal into L and follow it through the source meter, stem auxiliary, full-mix path, print track, interface output, and left loudspeaker. Then repeat the closed-loop check for C, R, Ls, Rs, and LFE in that documented order.
Use clearly announced channel IDs or separated bursts for the five main channels. Use an appropriately low-frequency test signal for LFE. This test should prove identity, not merely produce activity on six meters.
Test control and recording separately
- Mute DX and confirm that dialogue disappears from the full mix while FX and MX remain.
- Repeat the isolation check for FX and MX.
- Move each VCA and verify that only its intended members respond.
- Record 30–60 seconds of all active stems and the full mix.
- Re-import or audition the files through a known path.
- Confirm matching start and end points, expected file width, channel identity, LFE isolation, automation movement, and no doubled print monitoring.
A clean meter during recording is only one checkpoint. The recorded files are the deliverables, so they need their own playback inspection before the template earns a save.
Copy This Complete 5.1 Routing Example
Build this session in dependency order so each new track already has a valid destination.
- Create source families named Production Dialogue, ADR, Foley, Backgrounds, Hard Effects, and Music. Keep each source at its native mono or stereo width.
- Create DX BUS 5.1, FX BUS 5.1, MX BUS 5.1, and FULL MIX BUS 5.1.
- Route Production Dialogue and ADR to DX BUS 5.1.
- Route Foley, Backgrounds, and Hard Effects to FX BUS 5.1.
- Route Music to MX BUS 5.1.
- Create DX AUX 5.1, FX AUX 5.1, and MX AUX 5.1. Assign each auxiliary its matching bus input, then route all three outputs to FULL MIX BUS 5.1.
- Create FULL MIX AUX 5.1 with FULL MIX BUS 5.1 as its input and MON 5.1 as its output.
- Create DX PRINT 5.1, FX PRINT 5.1, MX PRINT 5.1, and FULL MIX PRINT 5.1. Add unity-gain post-fader sends from each stem auxiliary to its corresponding print path, plus a post-fader send from FULL MIX AUX 5.1 to FULL MIX PRINT 5.1.
- Create four 5.1 audio print tracks, assign the matching print paths as their inputs, and set their outputs to No Output while recording.
- Add Master Faders for MON 5.1 and every active print bus. Add DX, FX, and MX VCA Masters only after checking group membership.
- Run L, C, R, Ls, Rs, and LFE identifiers, write one obvious automation move in each family, and record a 30–60 second pass of the stems and full mix.
- Audition those files through MON 5.1, verify their start and end points, confirm each channel at its assigned loudspeaker, clear the test material, and save the resulting session as the clean new-session template.









Your Thoughts
No comments.
Share Your Opinion