
Quick Nav
- Why Dialogue Editing Is Different From General Audio Editing
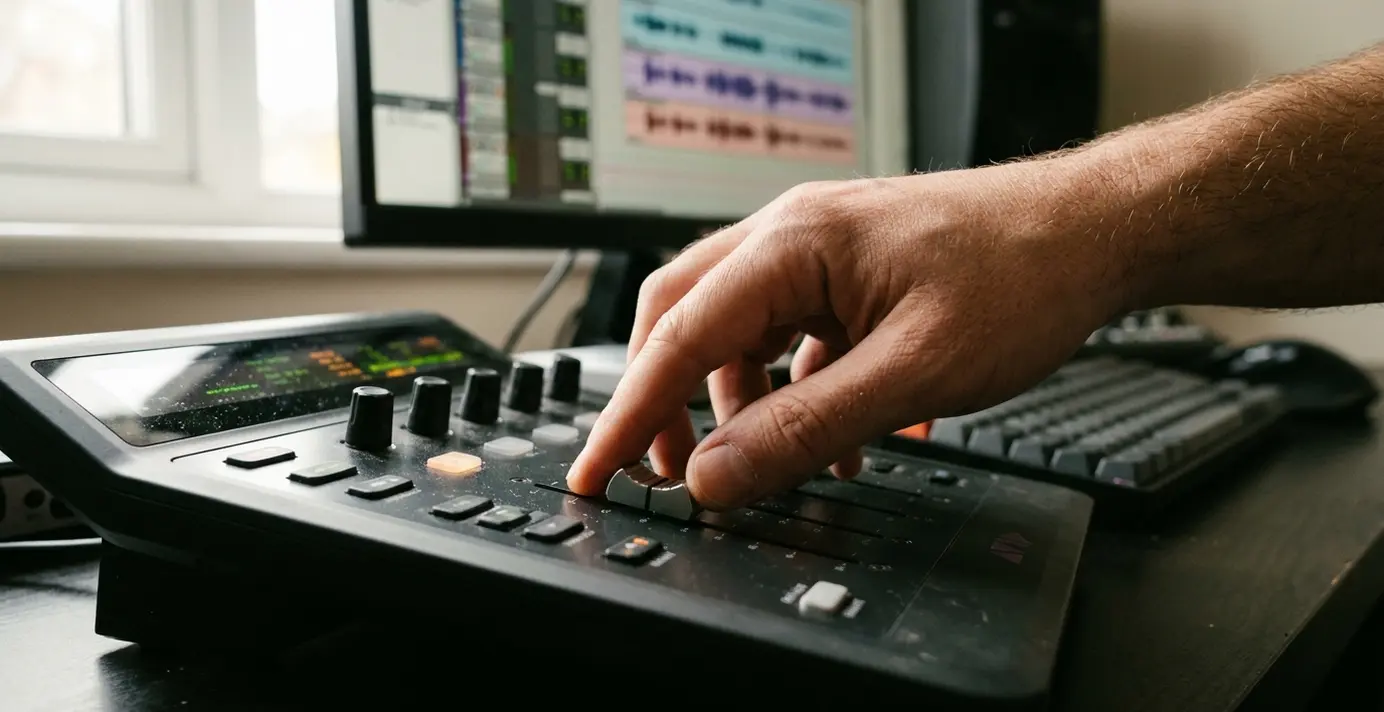
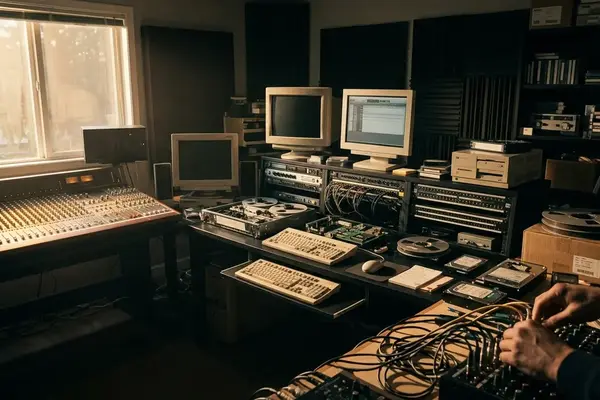
- Start With the Session Foundation: Picture, Timecode, and Tracks
- Analyze the Dialogue Before You Touch the Edit Tools
- Make the First Pass: Clean Cuts, Fades, and Room Tone
- Know Where Dialogue Ends and ADR, Foley, and Conforming Begin
- How Formal Pro Tools Training Fits Into Dialogue Editing
- Scope: What This Beginner Workflow Covers—and What It Does Not
- A Starter Checklist for Your First Dialogue Edit
Why Dialogue Editing Is Different From General Audio Editing
The first job in dialogue editing is not removing noise. It is protecting the line reading.
That sounds simple until you put a short scene on the timeline. A 60-120 second interview, documentary passage, or tribute-style scene may carry spoken lines under a music bed, archival hiss, applause, room changes, and edits from different camera angles. If I chase noise before I understand the sentence, I can make the track cleaner and less useful at the same time.
Archival interview material under a music bed may need timing and intelligibility decisions before noise reduction, because removing hiss can also damage consonants.
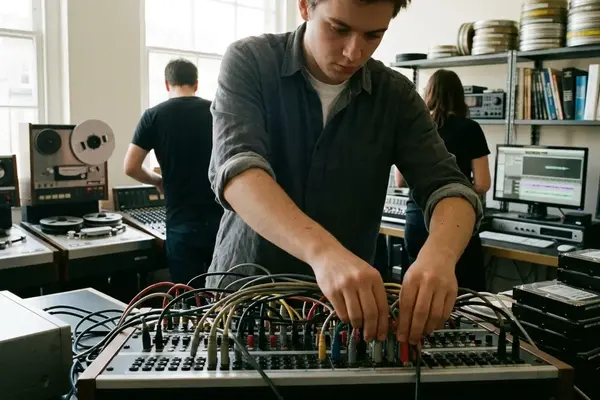
In post-production, dialogue also has neighbors. Production dialogue, ADR, Foley, hard effects, futz tracks, backgrounds, music, guide audio, and mix notes should not collapse into one generic audio lane. Each category carries a different responsibility. Dialogue tells the story. ADR may replace or reinforce it. Foley gives the body back to the picture. Backgrounds keep the room alive. The mix stage has to receive all of that without guessing what the editor meant.
Pro Tools became central to this kind of work because picture-based editing punishes vague organization. Synchronization, timecode, track layout, clip boundaries, and session exchange are not cosmetic details. They are how a dialogue edit survives the trip from the edit room to the mix room.
Bottom Line: Treat dialogue as story information first and audio material second. The tools matter, but the priority order matters more.
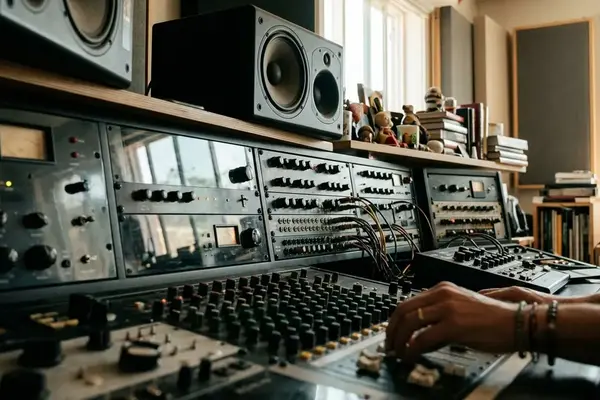
Start With the Session Foundation: Picture, Timecode, and Tracks
Before trimming a single breath, lock the things that can break the edit later: picture reference, timecode start, frame rate, sample rate, bit depth, and track layout.
Confirm the picture before you cut
A 23.976 picture reference treated as true 24 fps can create drift that is not obvious in the first few seconds but becomes visible later in the scene. Common post frame rates include 23.976, 24, 25, 29.97 drop-frame, 29.97 non-drop, and 30 fps. Do not treat that list as trivia. Frame rate is the ruler under the whole session.
For video post sessions, set or verify 48 kHz audio and 24-bit depth unless the delivery spec says otherwise. If the editor or client sends an OMF or AAF, check whether handles came with it. Handles in the 2-4 second range give you room to extend a breath, recover a clipped line start, or patch tone without begging for a new export.
Name tracks like the next person is tired
A practical starter layout might include DX 1-4, ADR 1-2, PFX or production effects 1-2, room tone, Foley guide, hard effects guide, music guide, and muted reference audio. The exact count can change, but the separation should happen early.
OMF import and editorial conforming are deep topics by themselves. For a beginner pass, the useful principle is narrower: know where the material came from, know where it sits against picture, and keep enough information available that the next fix does not become archaeology.
Analyze the Dialogue Before You Touch the Edit Tools
What is the scene trying to communicate?
I ask that before I look for clicks, bumps, or waveform scars. The first top-to-tail listen should be tool-free. Listen for story intent, performance continuity, mic changes, background shifts, clothing rustle, breaths, overlaps, clipped words, and lines that may be unusable. Then do a second pass with markers.
Your repair list does not need to be elegant. It needs to be clear. Include timecode in, timecode out, character, issue, preferred source, and an action such as keep, clean, replace, fill, or flag for ADR. That small discipline prevents a common beginner problem: fixing every irritating sound while missing the one moment that actually blocks the audience from understanding the line.
Room tone deserves its own attention. When usable tone exists, keep 10-30 seconds per setup and label it by scene, mic perspective, and background character. “Tone” is too vague when one angle has air conditioning, another has street wash, and a third has a lav rubbing under wardrobe.
Field Note: A lav-to-boom cut can look smooth on the waveform but still fail because the room perspective changes under the same line.
Historical dialogue and ADR instruction at Video Symphony included instructors such as Victoria Rose Sampson in a training-context role. I would not turn any one instructor reference into a universal rulebook, but the larger lesson holds: dialogue editing lives between performance judgment and technical repair.
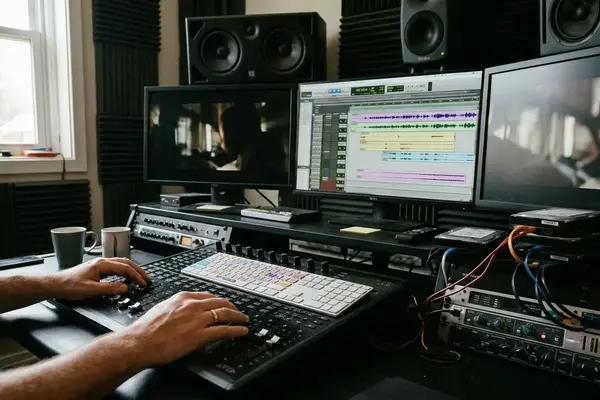
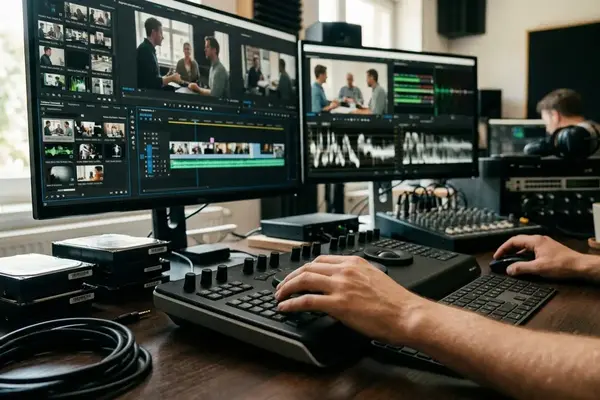
Make the First Pass: Clean Cuts, Fades, and Room Tone
Here is the first pass I give beginners because it keeps the work small and reversible.
- Duplicate the playlist before offline clip processing or committed EQ changes.
- Split clips at natural speech boundaries, not wherever the waveform looks convenient.
- Remove obvious distractions only when they do not damage timing or meaning.
- Close empty gaps with matching room tone.
- Use short fades to hide transitions, then listen instead of staring at the screen.
Start fade tests in the 2-10 frame range for tight dialogue joins, then lengthen only when the background or room tone exposes the cut. Loop from roughly 1 second before to 1 second after an edit point. If the edit calls attention to itself when you are not watching the waveform, revise the cut or tone fill.
Common first-pass fixes include trimming dead air, replacing a bumped syllable from an alternate take, extending a breath, filling a gap with room tone, and smoothing a lav-to-boom perspective change. None of those moves should announce themselves.
The beginner mistakes are usually overcorrections: cutting too tightly, removing useful breaths, processing before editing, ignoring background continuity, or forgetting to check sync after trims. A dialogue edit should sound like the actor simply said the line that way in that room.
Know Where Dialogue Ends and ADR, Foley, and Conforming Begin
Some problems belong in the dialogue edit. Some should be handed off.
If a line is intelligible but rough, edit it and document the compromise. If the performance is unusable, the picture has changed under the audio, or the production track cannot support the story, flag it. ADR notes should capture character, exact line or partial line, source timecode, reason for replacement, and whether the original production track should remain as a guide.
Adjacent jobs are not the same job
ADR replaces or reinforces dialogue. Foley adds custom-recorded human movement and prop sound. Editorial conforming realigns audio to final picture changes. Foley Cueing means marking sound effect triggers: footsteps, cloth, hand props, body falls, and specific contacts. Foley Editing means syncing those custom-recorded sounds to picture rather than treating them like library effects.
That boundary matters. A beginner dialogue editor can spend hours trying to manufacture clean footsteps out of a noisy production track when the better note is simply “Foley needed here.”
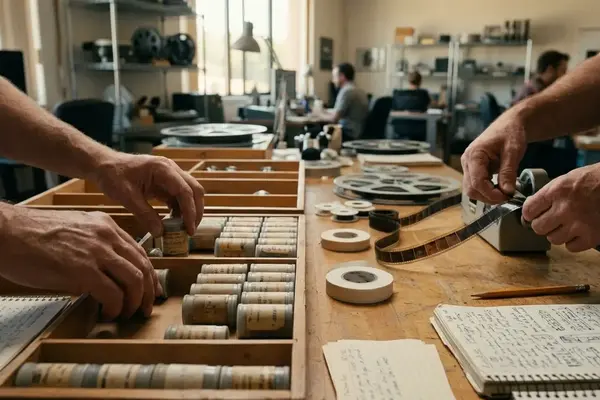
Video Symphony’s archive places Solange Schwalbe in a May 2005 context as an award-winning sound editor and instructor connected to Foley-related training, with earlier 35mm magnetic film editing experience. That older mag-film discipline is worth mentioning because frame-accurate alignment predates digital timelines. Perforated audio rolls and leader-based sync trained editors to respect picture position long before a DAW made it easy to slide clips around.
How Formal Pro Tools Training Fits Into Dialogue Editing
Training helps most when it builds capabilities in order.
For a beginner, PT101 sits at the operational starting point: navigation, session setup, editing tools, basic routing, and the confidence to move around Pro Tools without breaking the session. PT210P is the post-production techniques step most directly connected to dialogue editing, because it moves the work toward picture, sync, and post workflow habits.
After that, the path branches. PT245 fits as a Foley-editing specialization. PT291 fits as a conforming and synthesis specialization. Those are not beginner shortcuts; they make more sense after the editor understands timeline organization, picture reference, and sync discipline.
Digidesign was the historical Pro Tools certification body and the manufacturer behind Pro Tools HD systems in the source archive. Today, readers should verify current software and training details through official resources such as Avid Pro Tools documentation.
Operator-level certification can show working software competence. Expert-level certification signals a higher tier of skill. Neither should be treated as a guaranteed hiring outcome. The practical self-study path is humbler: one short setup exercise, one 60-120 second dialogue edit, one ADR-flagging pass, and one conforming review against a revised picture reference.
Scope: What This Beginner Workflow Covers—and What It Does Not
This guide covers dialogue edit preparation in a DAW: picture reference, timecode discipline, track organization, first-pass cutting, fades, tone fills, ADR flags, and notes for the next stage.
It does not cover full re-recording mixing, theatrical certification, advanced 5.1 or 7.1 surround workflows, complete sound design, or final delivery mastering. Those jobs connect to dialogue editing, but they are not the same craft problem.
The distinction matters because this article uses several historical authority signals: Video Symphony, Digidesign and Avid certification context, Pro Tools HD, named instructors, and specific course codes. The course references come from Video Symphony’s 2003-2006 archive context, including training history tied to 731 N. Hollywood Way, and should be treated as archive context rather than a current enrollment promise.
Important: Course codes, hardware labels, and certification paths should be verified with current official providers before you treat them as enrollment or purchasing guidance.
The workflow advice is more durable than the catalog language. Picture sync still matters. Room tone still matters. Track names still save time when the session leaves your hands.
A Starter Checklist for Your First Dialogue Edit
Do not start with a full mix. Choose one 60-120 second scene and complete one disciplined dialogue pass before adding music, effects, or broad processing.
First Dialogue Edit Pass Checklist
- Create or open the session and verify 48 kHz audio, bit depth, timecode start, and frame rate.
- Import the picture reference and keep the original guide audio muted but available.
- Confirm that production dialogue, ADR, room tone, Foley guide, hard effects guide, music guide, and reference audio are separated clearly.
- Save a version such as v01_import.
- Listen top to tail without editing and identify the scene intent.
- Save v02_markers, then mark sync problems, mic bumps, clothing rustle, clipped words, background shifts, overlaps, and ADR candidates.
- Make the first-pass cuts at natural speech boundaries.
- Add short fades and patch gaps with matching room tone.
- Save v03_first_pass before any committed processing.
- Flag ADR with character, line, source timecode, reason, and guide-track status.
- Save v04_ADR_notes.
- Recheck sync after major trims and save v05_sync_check.
Keep the guide track muted but available. It can answer questions about missing production audio, picture reference changes, or intended line timing when the edited tracks get confusing.
Export notes with scene or reel, timecode in, timecode out, track name, issue, proposed action, and whether the item belongs to dialogue edit, ADR, Foley, conform, or mix review.
The goal is not to make the scene sound finished. The goal is to hand the next stage a clean, intelligible, organized dialogue track that still feels like the performance.
Your Thoughts
No comments.
Share Your Opinion