
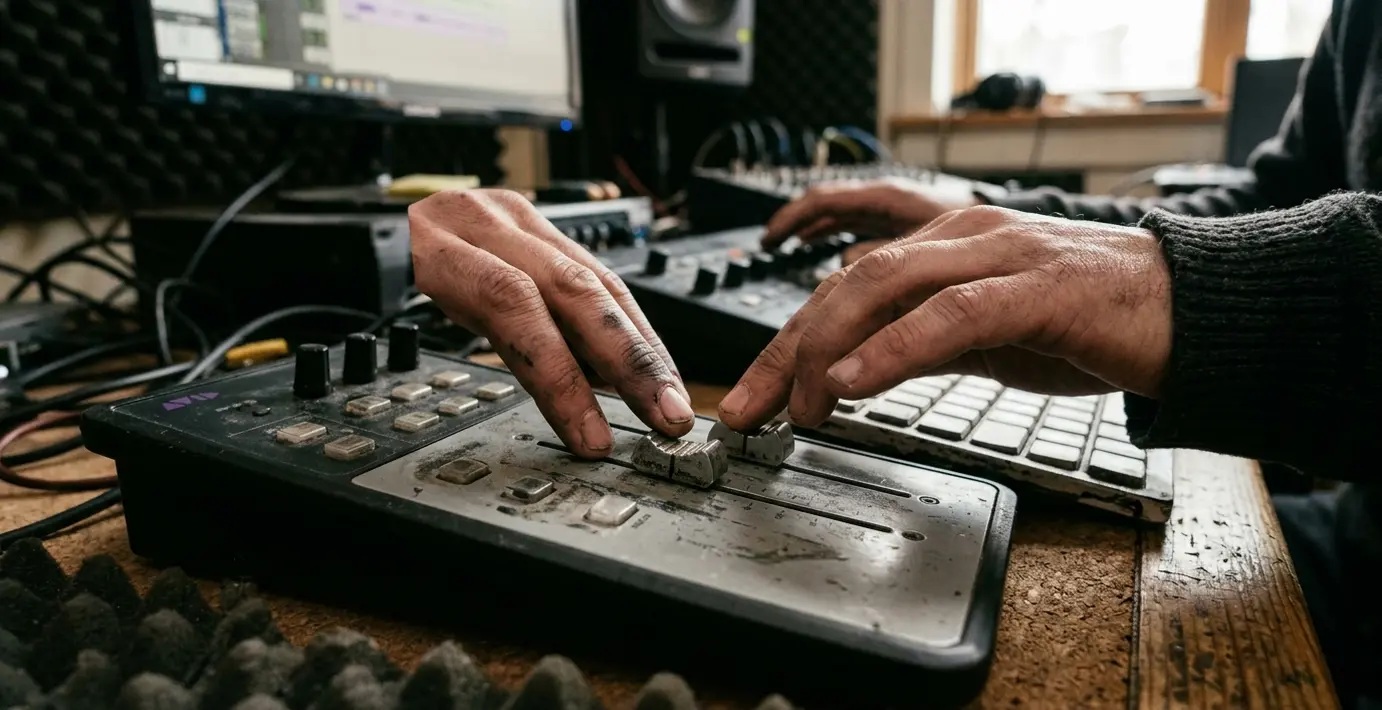
A dialogue scene with six or more takes turns the cutting room into a search problem. The editor scrubs a master, then coverage, then pickups, hunting for the one line reading that fits. Every second of that hunt breaks the rhythm of comparison, and the comparison is the whole point.
ScriptSync answers that problem by binding written lines to spoken performances. Click an exchange in the script window and the timeline jumps to the take that covers it. On narrative television and any dialogue-heavy scene, that access is the difference between auditioning performances and excavating them.
This is an assistant editor's job, and this article treats it that way. The scope is scripted film and television inside Avid Media Composer: clean script text, correct clip assignment, and a human review pass before the script bin reaches the editor.
What Good ScriptSync Prep Saves in the Cutting Room
Consider the baseline: a scene shot with multiple camera angles, repeated dialogue coverage, pickups, and a revised page delivered through dailies. Without preparation, the editor owns all of that raw sprawl and no map through it.
The payoff of good prep is line-level access. Instead of scrubbing an entire master to find a delivery, the editor clicks the written exchange and the matching performances surface. That single behavior — click a line, hear the reading, is what the whole preparation chain protects.
What makes it work is not the feature. It is three prerequisites the assistant delivers: script text that imported clean, clips attached to the lines they actually cover, and a review pass that catches the misalignments before they reach a working session.
Where ScriptSync Fits in a Professional Assistant Editor Workflow
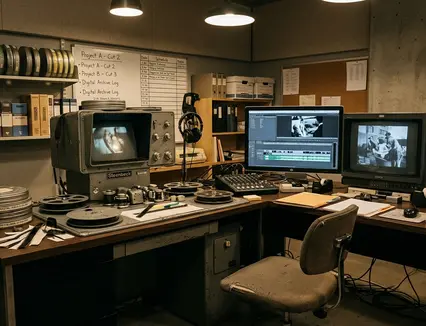
ScriptSync belongs after clip preparation, not at ingest. The sequence runs in a fixed order:
- Ingest and verify media.
- Organize scene bins.
- Prepare the script text.
- Import the script.
- Attach the scene takes.
- Run alignment.
- QC before handoff.
Notice what happens before step three. The assistant confirms that picture and production audio are already synchronized, that scene bins are usable, and that clip names carry enough context to identify a take.
Two Kinds of Syncing
These are not the same operation. Syncing picture to production audio produces the clips. ScriptSync aligns dialogue text to those already-prepared clips. Confusing the two is where new assistants lose an afternoon. The audio sync is a prerequisite; the script alignment is the layer built on top of it.
Menu wording, licensing prompts, and the enabled script tools shift between installed releases. Check the Avid Media Composer documentation for the version on the bay once, before writing any internal instructions, so the menu names in your notes actually match the screen.
One boundary worth stating plainly: this workflow targets scripted film and television. Documentary, reality, and interview projects usually want transcript-driven organization instead of production-script alignment, and forcing the script method onto them fights the material.
Prepare the Script Text Before It Enters Avid
Start from the production script or the sides used on the shoot day. Then reduce it to what the script window actually needs: scene heading, character names, dialogue, useful action, and revision context. Save or export to plain text when the source format carries hidden markup that import will choke on.
Preserve the load-bearing structure:
- Scene numbers.
- Character names.
- Dialogue order.
- Meaningful parentheticals.
- Stage direction that identifies action before or between lines.
Then strip the noise. Repeating headers and footers, page watermarks, distribution notices, stacked blank lines, broken line wraps, and duplicated revision marks all confuse the import and clutter the window.
Revised pages need a specific discipline. Keep the revised dialogue in the actual spoken order, and make omitted material visibly absent rather than leaving dead lines that no take will ever match. A dead line in the script window is a click that lands nowhere.
Field Note: Before saving the text file, read four things: the first scene heading, the first character cue, one middle exchange, and the final line. If those four survive intact, the body between them usually did too.
Import the Script and Build a Usable Script Window
Treat the script bin as a production asset, not a throwaway import test. Create a dedicated script bin, import the cleaned text, open the script window, and confirm the formatting survived.
Naming So Another Assistant Can Find It
Names like episode_scene_script, showcode_scene_script, or scene24A_revised_script all work. There is no single mandated standard, and pretending otherwise invents a rule the industry never agreed on. The real requirement is simpler: the editor should identify the scene without opening the file.
Keep the script bin next to the matching dailies, scene, or turnover bins. During a supervised edit session, nobody wants to dig three folders deep in a separate project area to find the text for the scene on the screen.
After import, scan for the usual damage: missing character names, shifted dialogue blocks, broken scene headings, doubled revision lines, and page breaks that cut through the middle of a speech. Do this check before any clips are attached. Fixing the script after attachments creates rework that a two-minute scan would have prevented.
Attach Takes to the Correct Lines and Scene Ranges
Attach clips based on what the take actually covers, not what the slate claims the scene is. This distinction matters more than it sounds. A take labeled for the full scene may only contain the reset after the midpoint; attach it to the entire scene and every early-line click misleads the editor.
Work the scene bin first. Confirm the synced clips or subclips carry usable scene, take, camera, and sound references, then organize by scene, setup, camera angle, and take when those fields exist in the dailies workflow. Before attaching, verify that clip names, take numbers, camera identifiers, and sound references are readable enough for another assistant to audit later.
Pickups, Resets, and Wild Lines
Partial coverage is where careless attachment does the most damage. For pickups, resets, split scenes, and wild lines, attach the clip only to the lines it actually covers instead of stretching it across the full range.
Separate alternate wording and overlapping dialogue with clear annotations. The editor should never treat a partial pickup as complete scene coverage because an annotation was missing. A two-camera take complicates this further: if one camera cuts before the final line while the other runs through, the two clips need different line ranges, not identical ones.
Run ScriptSync, Then QC the Result Like an Assistant Editor
Run alignment only after the selected range and attached takes are correct. Select the relevant script passage, choose the associated takes, launch the alignment, and wait for it to complete.
A successful result feels immediate. Clicking a scripted line lands near the corresponding performance instead of forcing a long manual search. If a click drifts far from the reading, treat that as a signal, not a quirk to tolerate.
Alignment runs strongest when the recorded wording closely follows the prepared text, and weaker when actors paraphrase, skip clauses, or perform a page rewritten on set. That is exactly why QC is a checklist, not a glance. Test these points every time:
- The first spoken line.
- A midpoint exchange.
- The final line.
- Interruptions.
- Improvised wording.
- Off-camera dialogue.
Where a supervised handoff protects the edit, the pattern is consistent: a human review pass catches the misalignments that would otherwise slow the editor during performance comparison. Blind trust in a completed alignment bar is the failure mode here.
Fix the Problems That Make ScriptSync Feel Unreliable
When alignment feels broken, resist the urge to rerun it. Rerunning the same failed alignment without changing anything underneath just burns time. Work a fixed diagnostic order instead: verify media, then script text, then the selected range, then take assignment.
The common causes cluster in predictable places:
- Poorly imported or mangled script text.
- The wrong take attached.
- Missing or muted production audio.
- A clip that starts after the first spoken line.
- Heavy ad-libbing away from the page.
- An outdated script revision.
Each has a specific fix. For a clip that starts late, extend the subclip or attach only the available portion to the lines present in the recording. For overlapping dialogue, check whether the scripted order matches the performance; if it does not, add a marker for the editor. For partial takes and pickups, shrink the script range rather than forcing the full scene to align.
Important: A revised page can import cleanly and still be the wrong revision. If the actors performed sides distributed later on the shoot day, the text will look correct and align badly. Verify the revision against the dailies paperwork, not against how tidy the import looks.
Copy This Scene-Level ScriptSync Workflow
Take Scene 24A as a contained unit: two cameras, three takes, one revised dialogue page. Treat it as one scene bin, one cleaned script file, one script bin, three attached takes, and one QC pass. Copy these steps directly.
- Build the bin. Create a bin named for Scene 24A and place the synced clips or subclips for both cameras inside it.
- Clean the text. Reduce the Scene 24A script so the scene heading, character names, dialogue blocks, and revised lines stay intact, and delete headers, watermarks, and dead omitted lines.
- Import and verify. Import the cleaned text into a dedicated script bin, open the window, and confirm the revision lines match the sides the actors actually performed.
- Attach by coverage. Attach Take 1, Take 2, and Take 3 only to the dialogue range each take covers. If Camera A cut before the final line and Camera B ran through, give them different line ranges.
- QC the six points. Click the first line, a midpoint exchange, and the final line; then test an interruption, any improvised wording, and the off-camera dialogue.
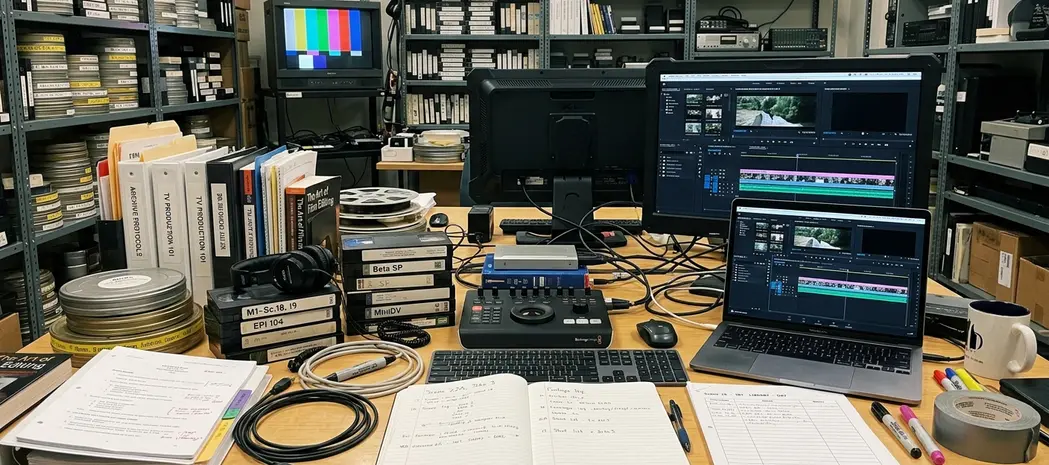
When those five steps hold for Scene 24A, the editor opens the script bin, clicks a line, and hears the reading. That is the whole deliverable. Repeat the pattern per scene and the sprawl of a dialogue-heavy episode becomes a bin of clean, clickable text.






Your Thoughts
No comments.
Share Your Opinion