
Reliable Stem Timing Starts With the Routing Map
Map every route a signal can take before interpreting Pro Tools delay indicators. In a dense post-production mix, dialogue may travel through a dry aux and a processed duplicate, meet at another bus, and continue to a dialogue print track. Effects may pass through their own nested auxes before reaching a separate print. Sends and parallel returns belong on the map wherever they can change what reaches a stem.
Draw the dry dialogue feed, processed dialogue feed, and effects feed as separate lines from source to print. Mark the bus where the two dialogue paths meet. That point matters more than either path in isolation: a dialogue stem can sound acceptable alone while a slight mismatch between its dry and processed components changes the tone when they sum. A similar problem may become apparent only when the dialogue and effects prints play together.
Automatic delay compensation helps align eligible paths, but the routing map establishes which paths need to align. It also gives the mixer a place to start when a printed stem appears late: the source track, an insert chain, a nested aux, or the route into the print track.
How Pro Tools Balances Unequal Signal Paths
What does a delay indicator describe? A plug-in can introduce latency, while a complete signal path accumulates latency through serial inserts and nested auxes. The latency shown for one processor therefore need not equal the latency of the route that reaches a print track.
Pro Tools compensates eligible shorter paths by delaying them to meet the longest relevant path at their shared destination. In a hypothetical comparison, suppose one path totals 512 samples of latency and another totals 128 samples. The shorter path needs 384 samples of compensation: 512 minus 128. At a session rate of 48 kHz, those 384 samples equal 8 milliseconds. Without a known session sample rate, keep the comparison in samples.
The word relevant is important. Compare routes that must meet at the same destination, rather than taking the largest number visible anywhere in the session as a universal reference. A dialogue return and its dry feed need alignment at their recombination bus; the printed dialogue and effects stems need checking at their intended playback position. Before relying on a particular compensation control or limit, check the reference guide for the installed Pro Tools version.
Where Parallel Dialogue and Effects Paths Drift Apart
Consider a dry dialogue track sent to one aux while a duplicate runs through a processed aux. A lookahead processor or convolution insert may add latency on the processed branch. Another aux between that branch and the dialogue bus adds a routing stage that the path map must include. Trace both feeds to the bus where they recombine, then follow that bus through to the dialogue print.
A small offset between copies of phase-sensitive speech can change the sound of a voice without producing an obvious echo. An apparent change in body or clarity during recombination is therefore worth investigating even if each branch sounds ordinary on its own. Follow the effects path separately; its own aux chain and print route determine what arrives alongside the dialogue stem.
Check External Returns Separately
An external hardware insert calls for a different timing check. Inspect the configured interface path and session setup, then record and examine the return. Its round trip depends on that configuration. An internal delay indicator cannot establish that a hardware return or live-monitored path aligns with an internally printed stem. Confirm the behavior in the installed version and the monitoring workflow actually used for the mix.
Trace a Late Stem Before Moving Any Audio
When an effects print appears behind dialogue, which part of the route accounts for the gap? Use a test copy of the session so the investigation leaves the working mix intact. Keep the original test print as a reference; it makes each subsequent change easier to judge.
- Inspect the routes. Follow the source tracks, sends, inserts, nested auxes, recombination buses, and print tracks on the routing map. Note the delay indicators for the paths being compared.
- Print a shared test. Build an approximately 2–4-second test region with one short transient away from its boundaries. Feed that transient through the routes under comparison and print their outputs.
- Compare at each meeting point. At sample-level zoom, inspect the dry and processed dialogue returns where they recombine. Then place the dialogue and effects prints at their intended playback position and compare their transient starts.
- Isolate one cause at a time. Change a suspect insert or aux branch, observe the new delay indication, and make a fresh print. Test bypassed, inactive, and removed states deliberately; they need not give the same indication.
Start with the earliest point where the prints diverge. If the dry and processed dialogue returns already differ at their bus, moving the finished dialogue stem would hide the more useful finding. If those returns align but the final prints do not, continue along the routes to the print tracks and compare them at playback.
Reduce Path Latency and Recheck the Prints
Prefer a routing or processing change that addresses the measured source of latency. An unnecessary high-latency processor on a parallel branch may be removable. A nested aux chain may be simplified. When a processed effect is creatively settled, printing it can reduce the number of live paths that must remain aligned.
Each option changes something different. Removing an insert changes the processing available on that branch; simplifying an aux chain changes the route; printing an effect commits a decision. Choose against the mix requirement, then repeat the transient test. Compare both the displayed delay and a fresh print, and listen to the recombined dialogue for tonal change. A waveform check can show aligned transient starts while the summed voice still deserves an audition.
Document Any Manual Shift
Use a manual offset only after measuring the printed transient. Record the affected track or stem, edit location, direction, and sample count. A note that says only “timing fixed” leaves the next editor unable to tell what moved or whether the adjustment still applies after a routing change. Retain the earlier print and test again after the shift.
Confirm Dialogue and Effects Alignment at Handoff
Open a clean playback session and import the final dialogue and effects prints at their intended start position. Leave the mix session’s aux routing behind. At sample-level zoom, inspect the known transient in both printed waveforms, then combine the stems and listen through passages where dialogue and effects interact or the dialogue contains phase-sensitive material.
Keep the routing map and any offset record with the session notes. They tell the person receiving the prints where the timing was checked and which adjustments belong to the delivered files.
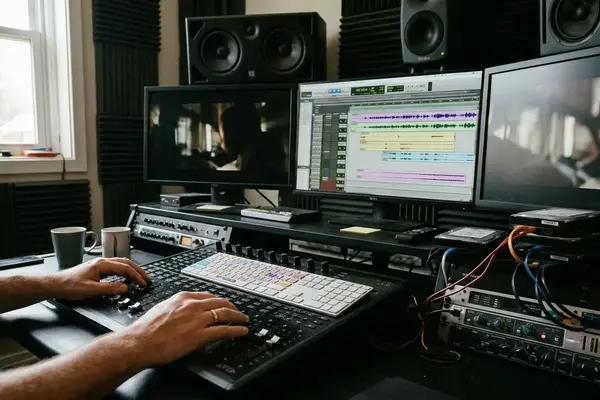
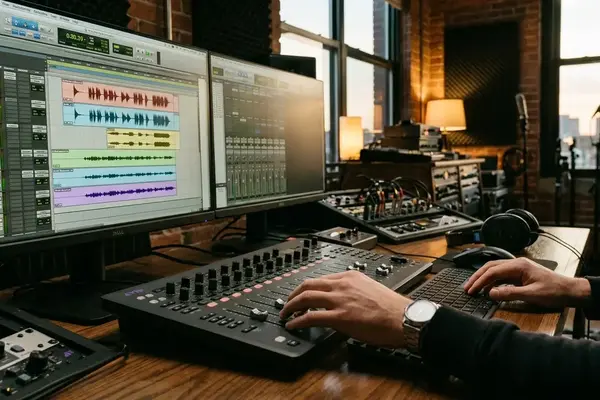
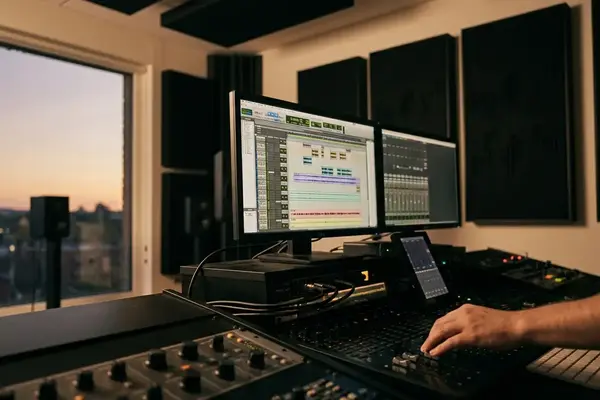
In the post-production mix room, an assistant editor places the final dialogue and effects prints on the timeline. The shared test transient lines up across both waveforms. The editor plays the scene once more before delivery.


Your Thoughts
No comments.
Share Your Opinion