
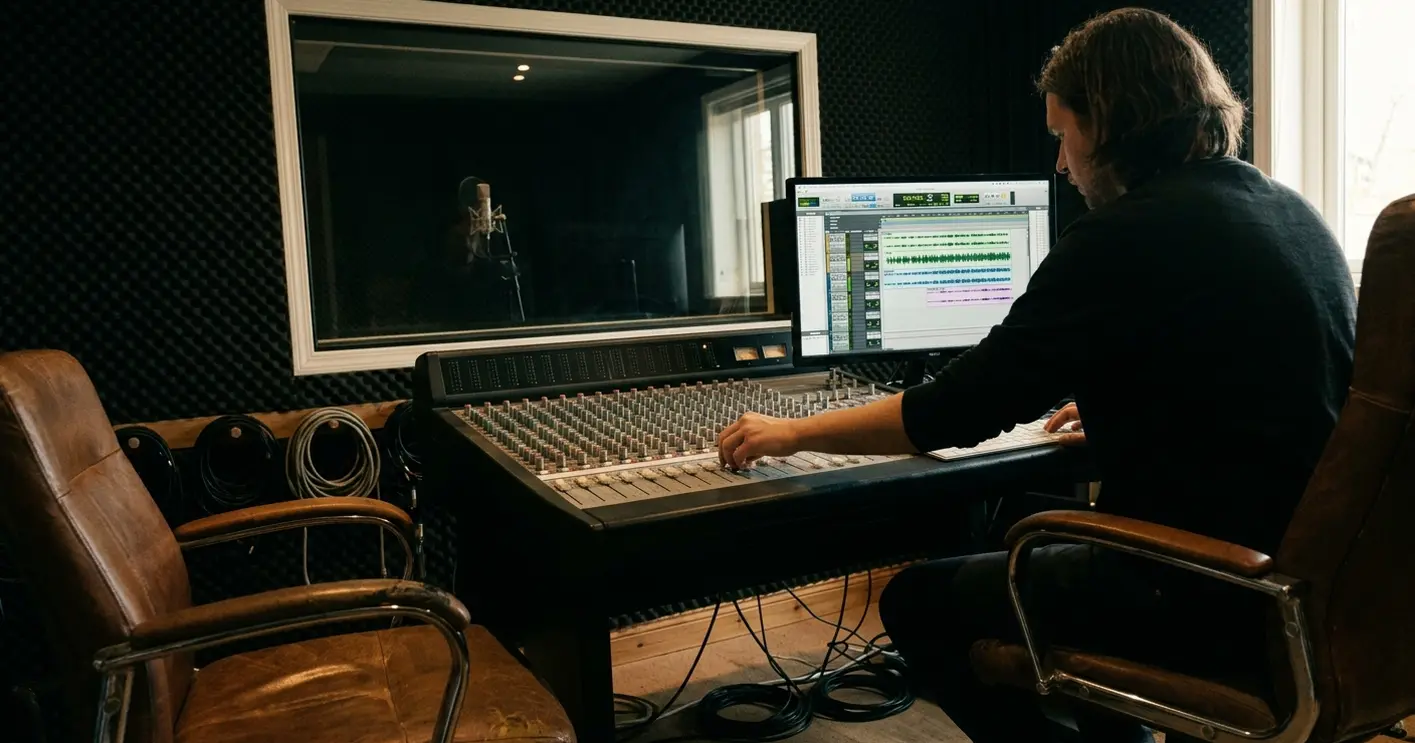
Why ADR Setup Matters Before the Actor Arrives
Pro Tools playlists can hold alternate performances on one ADR record track while the picture and production dialogue stay in place. The engineer can replay each attempt against the same reference without rebuilding the cue. That stable relationship matters when a line sounds convincing on its own but lands early against the actor’s movement on screen.
The actor needs a repeatable sequence: hear the cue, perform against picture, then hear the recorded line in context. A session that supports all three steps lets the room concentrate on the performance rather than on finding the correct take or restoring a shifted reference.
Prepare the session in playback order. Verify the delivered reference and sync, separate recording from monitoring, place the cues, and establish a way to retrieve alternate takes. Each step gives the next one a reliable point of reference.
Where Cues, Monitoring, and Picture Sync Go Wrong
Where should each sound go? The microphone feeds the ADR record track. Production dialogue remains available for reference monitoring. Beeps reach the actor’s headphones so the entrance is clear, but they must stay out of the recorded microphone performance. Following those destinations is more useful than judging the setup from a meter alone.
A delayed copy of the actor’s voice can make an otherwise clear headphone feed difficult to perform against. A cue placed ambiguously relative to the line entrance leaves the actor guessing. If the picture clip moves, even a well-timed performance may appear early or late on review. These problems can sound similar in the room, yet each calls for a different check.
Routing and synchronization checks should follow the actual interface and session in use. The decisive test is playback of a recorded line against unchanged picture and dialogue, with the recorded audio inspected for any printed cue.
Prepare the Picture Reference and Dialogue Tracks
A delivered picture file and dialogue reference form the starting point, not a cue that someone remembers from an earlier edit. Before placing markers, confirm that playback matches the supplied materials. Set the session frame rate, timecode start, and audio format from the delivery specifications rather than from assumed defaults.
Keep the delivered reference stable
Leave the original reference intact. Give picture reference audio, cue beeps, and the ADR microphone separate, clearly named tracks. That separation makes it possible to adjust what the actor hears without changing the supplied dialogue or recording a beep alongside the performance.
Mark both the entrance and the end of every line selected for replacement. Play from far enough before the entrance for the actor to see and hear the lead-in, and leave enough tail to hear the completed performance. The marks should describe the line in the fixed reference, even after several playlists have been recorded.
If the materials do not establish an authoritative timecode or sync point, confirm it with production before building cues. A precisely placed beep offers little help when its underlying picture reference is uncertain.
Route the ADR Microphone Without Printing the Cue
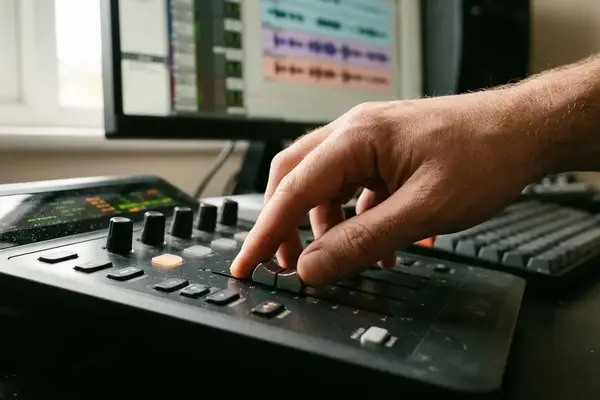
Assign the microphone’s interface input to the ADR record track, then confirm that the track reaches the engineer’s monitoring path. Build the actor’s headphone feed from production dialogue, the cue track, and their own voice at a balance they can use while watching picture. The beep track should feed monitoring, never the microphone track’s input or a loopback that reaches it.
Choose one live voice path
Is the actor hearing their microphone through the interface or through Pro Tools? Establish one live path before adjusting the headphone balance. Running both paths can produce an audible echo when the software-monitored voice arrives later than the interface-monitored voice. The appropriate choice follows the monitoring arrangement in the room; the check is whether the actor hears one clear voice.
Speak into the microphone and audition the actor’s headphones rather than relying on the engineer’s speakers. Record a short test, then listen to the recorded material itself. A moving meter confirms that signal reached a track; it cannot confirm that a beep stayed out of the recording. This distinction becomes important when a headphone mix and a record input share routing options on the same interface.
Place Beep Cues Against the Dialogue Entrance
On the separate cue track, place distinct beep events relative to the marked dialogue entrance. The actor should be able to anticipate the line while following the picture. Keeping these events apart from production dialogue also allows their headphone level to change without changing the reference or the recorded microphone signal.
Play through the lead-in as the actor would hear it. Listen for the handoff from the beeps to the performance entrance while watching the picture, then move the cue if that handoff feels unclear. Checking the entrance in motion gives a better answer than inspecting the beep position in isolation.
Use the production’s established beep pattern and timing convention consistently across the session. Consistency helps the actor interpret the cue; alignment with the marked line and the supplied picture makes that convention useful.
Capture Alternate ADR Takes With Playlists
After an attempt, create the next playlist on the same ADR track before recording again. The earlier performance retains its position against picture, and the new attempt can be reviewed against the same production dialogue. Switching the active playlist changes the performance heard, not the position of the picture or reference.
Name takes for retrieval
Use a stable cue identifier on the line marker and in each take name. A name such as SC12_LINE04_T03 identifies the line and attempt during playback without asking the engineer to guess which playlist holds it. Keep the cue identifier consistent even when the performance changes.
Review each take at both the line entrance and exit. Then listen for intelligibility and performance against the production reference; a waveform alone cannot settle whether the line reads correctly in context. Mark promising material while retaining the other playlists for editorial review. That leaves room to compare a stronger entrance from one attempt with a more convincing delivery from another, without discarding either recording.
Check the Cue-to-Take Workflow Before Recording
Run the session in the order the actor will experience it: picture and production reference, audible cue, comfortable headphone feed, microphone recording, and retrieval of an alternate playlist. Listen to the recorded file and confirm that only the microphone performance reached the ADR take. Then replay it against the fixed picture and dialogue reference.
A level check verifies signal, but it cannot establish that the cue, picture, and recorded line still align. Before the actor starts, play one complete rehearsal cue, record a short test take, replay it against picture, and switch to another playlist to verify that the take can be retrieved.

Your Thoughts
No comments.
Share Your Opinion