
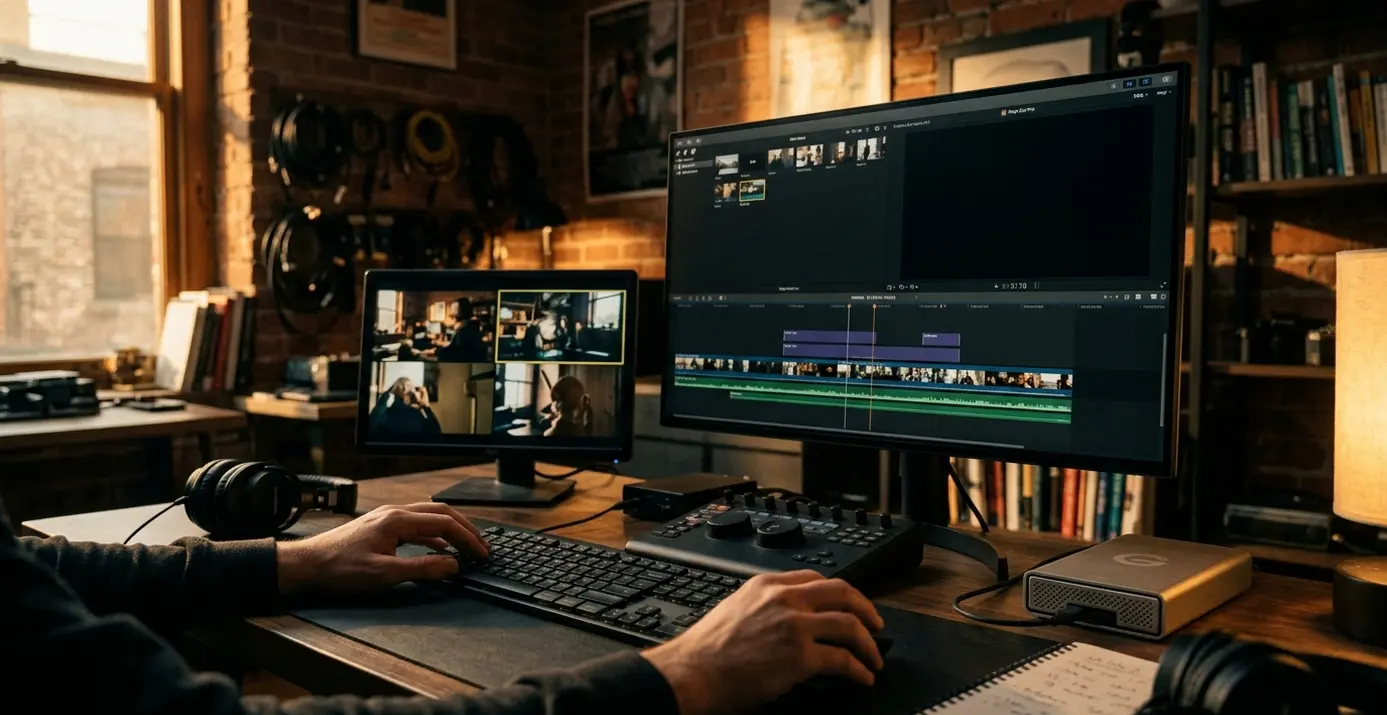
Why Multicam Edits Become Complicated So Quickly
A four-camera interview paired with an external audio recorder begins as five independent streams. Each device has its own recording history, and that history must be established before the material can be treated as a synchronized whole.
One camera restart can divide a stream into several source clips without creating a new editorial angle. A camera that stops twice should usually remain the same angle, with blank intervals representing genuine downtime. Assigning every restarted file to a separate angle crowds the switching interface and obscures the camera’s actual role.
File order offers little protection. Names such as C0001 can recur after card changes or across cameras, leaving two unrelated recordings with nearly identical labels. The practical risks then compound: false waveform matches, ambiguous clip identity, missing sections, audio drift, and uncertainty about which source should carry the finished sound.
Interview and Performance Priorities
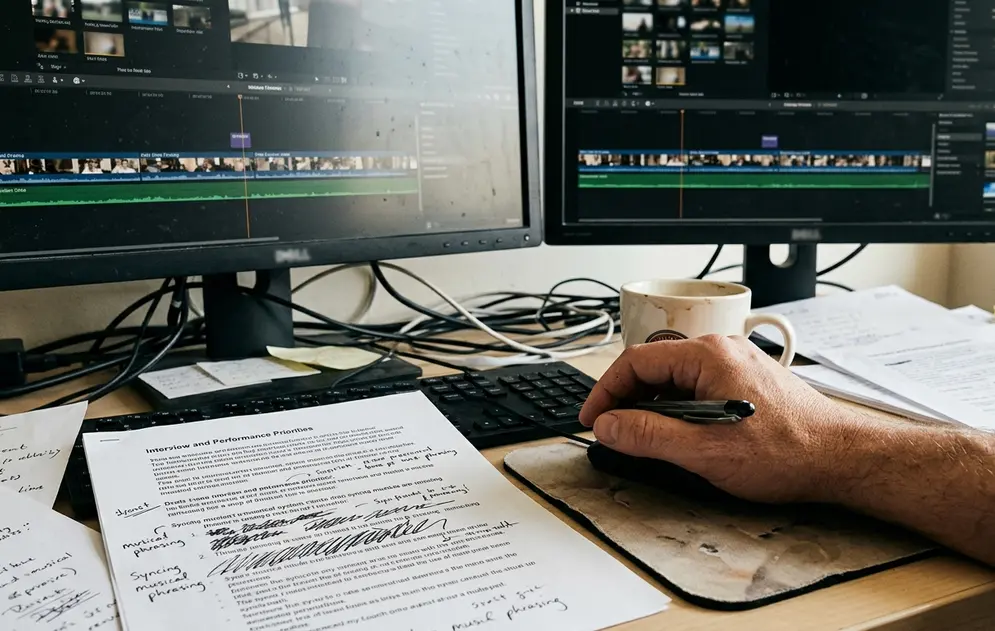
An interview edit protects completed thoughts, useful reactions, eye lines, and continuity between speakers. The editor may hold a shot because the listener’s response gives the exchange breathing room, even when another angle is technically available.
A performance asks different questions. Musical phrasing, visible movement, camera motion, and changes in energy influence the cut. A switch placed directly on a beat can still feel late when the camera move began earlier. Reviewing at least one phrase before and after the switch provides the necessary context.
What Matters: Treat every recording as an independent stream until alignment has been checked at the beginning, near the middle, and during the final 30–60 seconds.
How Final Cut Pro Treats Angles, Audio, and Time
Where should a synchronization problem be repaired? The answer depends on which of Final Cut Pro’s three multicam levels contains it.
Source Clips
Source clips retain the original media and its metadata. Interrupted recordings remain separate source clips even when they belong to one editorial angle. Several files can therefore share an angle name such as Guest, Wide, or Recorder.
The Browser Multicam Clip
The multicam clip in the browser contains the angle assembly and synchronization. Its lanes describe how sources relate in time and how Final Cut Pro groups them. Camera-name and angle-name metadata provide that structure more reliably than filenames alone.
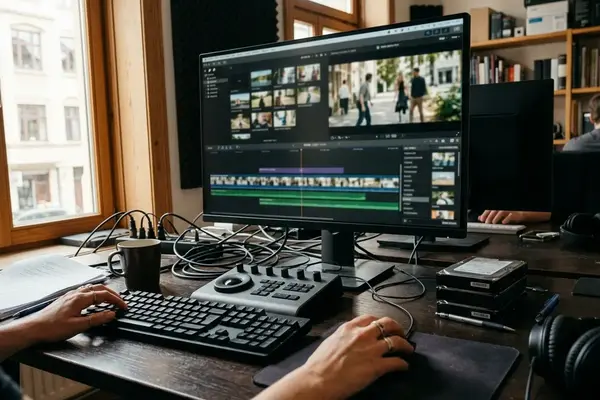
The Angle Editor exposes this assembly. It is the place to inspect offsets, reposition a source, confirm a restart gap, or determine why a clip landed later than expected.
The Edited Timeline Instance
Once placed in a project, the multicam instance carries editorial decisions: selected picture angles, active audio, and cut points. The Angle Viewer supports those choices during playback. A video-only switch replaces the picture while preserving the active audio angle. An audio-only switch changes the sound source while retaining the visible shot. A combined switch changes both.
This distinction keeps diagnosis disciplined. A persistent source offset belongs in the Angle Editor; a poorly timed reaction cut belongs in the project timeline.
Prepare the Media Before Building the Multicam Clip
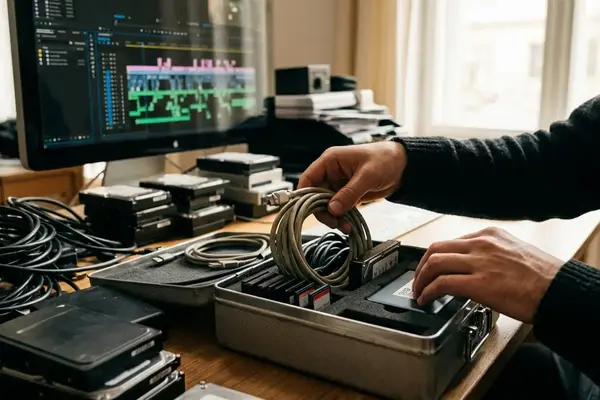
Preparation starts with the copied media rather than the multicam command. Compare the expected card count with the copied card folders, then confirm that the external recorder’s first and last files are present. Preserve the card and recorder folder structures along with the original filenames.
Verify the Recording Boundaries
- Inspect 20–40 seconds from the head and tail of each long recording.
- Confirm picture, reference sound, channel assignment, and the absence of an unexpected early stop.
- Identify which devices ran continuously and map every known restart or gap.
- Keep a restarted camera’s consecutive files under one angle name.
This pass often reveals the shape of the session before synchronization begins. A missing tail file, disabled reference channel, or early camera stop becomes an ingest problem instead of a mysterious gap inside the edit.
Name for Editorial Use
A practical naming pattern identifies production day, scene or performance, camera, and recording segment while preserving the source filename in metadata. Searchable clip names, keywords, notes, camera names, and angle names can carry those identifiers.
Angle names should remain legible in the Angle Viewer. Interview material benefits from speaker and framing roles such as Host, Guest, or Wide. Performance material reads more clearly when labeled by Stage Left, instrument area, Locked Camera, or Roaming. Those names describe what the editor can use rather than merely identifying device ownership.
Helpful Hint: Apply camera-name and angle-name metadata consistently before assembly. Repeated takes and restarted clips then enter predictable lanes even when card filenames recur.
Create, Inspect, and Correct the Multicam Sync
Select only the sources belonging to the same take or continuous performance, then create the multicam clip. Review the angle-assembly and synchronization settings before confirming them; automatic choices can place a valid source in an unexpected lane or time position.
Interface wording, command locations, and available assembly options vary between Final Cut Pro releases. For button-level details, check Apple's Final Cut Pro guide to creating multicam clips for the installed version.
Use a Synchronization Hierarchy
- Reliable shared timecode: Prefer common jammed timecode when the production captured and maintained it correctly.
- Recorded sync events: Use an intentional slate, hand clap, microphone tap, door impact, visible drum strike, or lighting change paired with an audible cue.
- Waveform matching: Use reference sound when each camera captured a sufficiently clear version of the same event.
For manual alignment, match a visible impact to its audio transient at single-frame resolution. Replay 3–6 seconds around the event before accepting the position. Motion and sound should agree during playback, not merely resemble each other as waveform shapes.
Recognize a False Waveform Match
Two waveforms can appear convincingly aligned at the opening while clipped applause, reverberation, or different microphone distances have produced a false match. Intermittent scratch audio creates the same danger. One camera may capture the direct event while another records mostly the room response.
Inspect the Angle Editor after assembly. Consecutive files from a restarted camera should occupy the same named angle, and any blank interval should correspond to real camera downtime. Then check synchronization near the middle and at the end. Opening alignment alone cannot rule out drift.
Proceed Carefully: Waveform shape is evidence, not a final verdict. Playback around a shared visible and audible event carries more diagnostic value.
Cut Quickly Without Sacrificing Audio Continuity
The primary audio decision should precede rapid picture switching. For dialogue, the dedicated recorder may provide the cleanest continuous signal. An incorrectly routed recorder track, however, may be less usable than a stable camera feed. Choose after checking channel configuration and continuity.
Build the Listening Pass First
Establish a continuous dialogue track and listen through the exchange before concentrating on coverage. With the Angle Viewer configured for video-only switching, the editor can change pictures while leaving that audio source intact.
The first visual pass can stay broad: speaker coverage, clear reactions, and obvious continuity repairs. Refinement follows at the cut level. Review 5–10 seconds on both sides of an interview switch to catch an eye-line jump, changed hand position, or reaction that begins before the speaker finishes.
Choose the Right Adjustment
- Replace the angle when the cut position works but the selected camera offers weak framing, focus, or performance coverage.
- Roll the cut when the shot is appropriate but the timing exposes a blink, reframing, focus correction, or operator bump.
- Switch audio only when the picture should remain while another source carries the stronger sound.
- Switch both when the editorial decision genuinely requires a new picture and sound perspective.
Connected titles, B-roll, and sound effects can remain attached to the multicam storyline while underlying picture angles are replaced or trimmed. That separation allows the visual cut to evolve without dismantling the surrounding construction.
Diagnose Drift, False Matches, and Missing Angles
Multicam repairs become faster when the symptom is traced back to the assembly. A 10–20 second playback around a questionable cut often exposes doubling, a transient mismatch, or an accidental audio-angle change more clearly than a paused frame.
Compact Troubleshooting Guide
- Gradual drift: Compare sync near the opening, after 10–15 minutes, and during the final minute. A steadily increasing separation points toward frame-rate, timing, or recording-clock behavior. Correct the affected source rather than patching individual timeline cuts.
- Wrong starting alignment: Locate a unique transient with a visible counterpart, reposition the angle once in the Angle Editor, and replay 4–8 seconds around the event.
- Missing angle: Confirm that the source was included and assigned to the expected angle name. Then check whether timecode or creation-date metadata placed it later in the lane.
- Missing sound: Inspect channel configuration, enabled audio components, and the active audio angle before treating the recording as silent.
- Sluggish playback: Create proxy media or lower viewer quality. These changes preserve angle choices, synchronization positions, and edit timing.
A constant offset and increasing drift require different corrections. The first calls for a stronger common event and a single repositioning move. The second requires investigation across the recording’s duration.
Make the Final Pass About Editorial Intent
The final review works best as three separate screenings. First, watch for lip sync, visible impacts, and late picture changes. Next, listen without concentrating on the image so level shifts, doubled sound, and unintended live-camera audio changes become easier to hear. On the third pass, question the motivation behind every visual switch.
Review the Vulnerable Boundaries
Allow 2–5 seconds of context before and after every camera restart, concealed gap, or replaced angle. Check whether a cut reveals a hand-position jump, reframing move, focus correction, or missing action. Performance edits also need enough surrounding phrasing to show whether camera motion and musical timing support the switch.
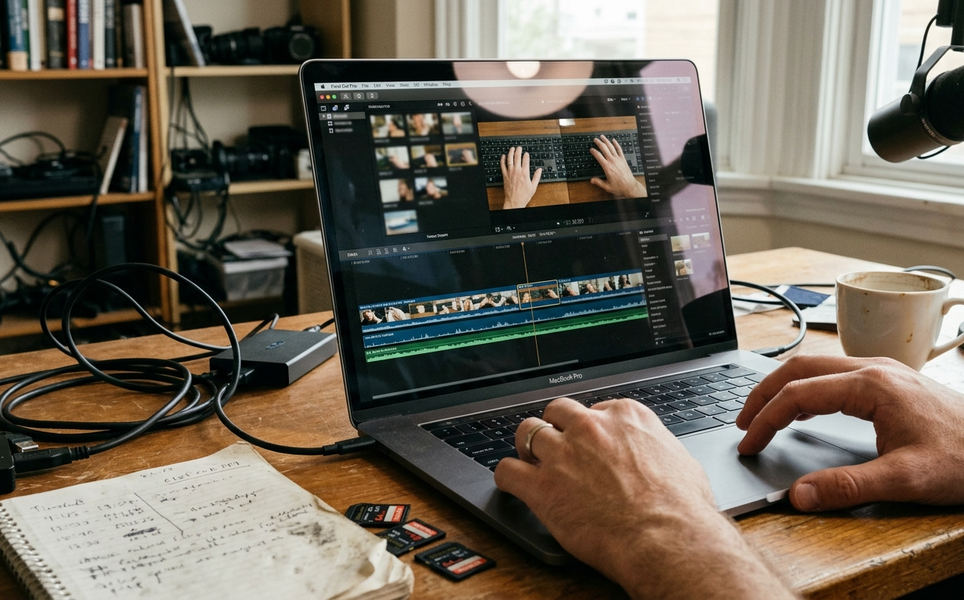
Color comparisons require a representative frame or matching lighting state. Performance lighting can change substantially within a few seconds, so adjacent frames may describe different illumination rather than a true mismatch between cameras.
Interview cuts should preserve a completed thought or meaningful reaction. Faster performance cutting earns its place when phrasing, movement, or energy supports it. For this sequence, should the viewer hear continuity first or feel the energy of each camera change?



Your Thoughts
No comments.
Share Your Opinion